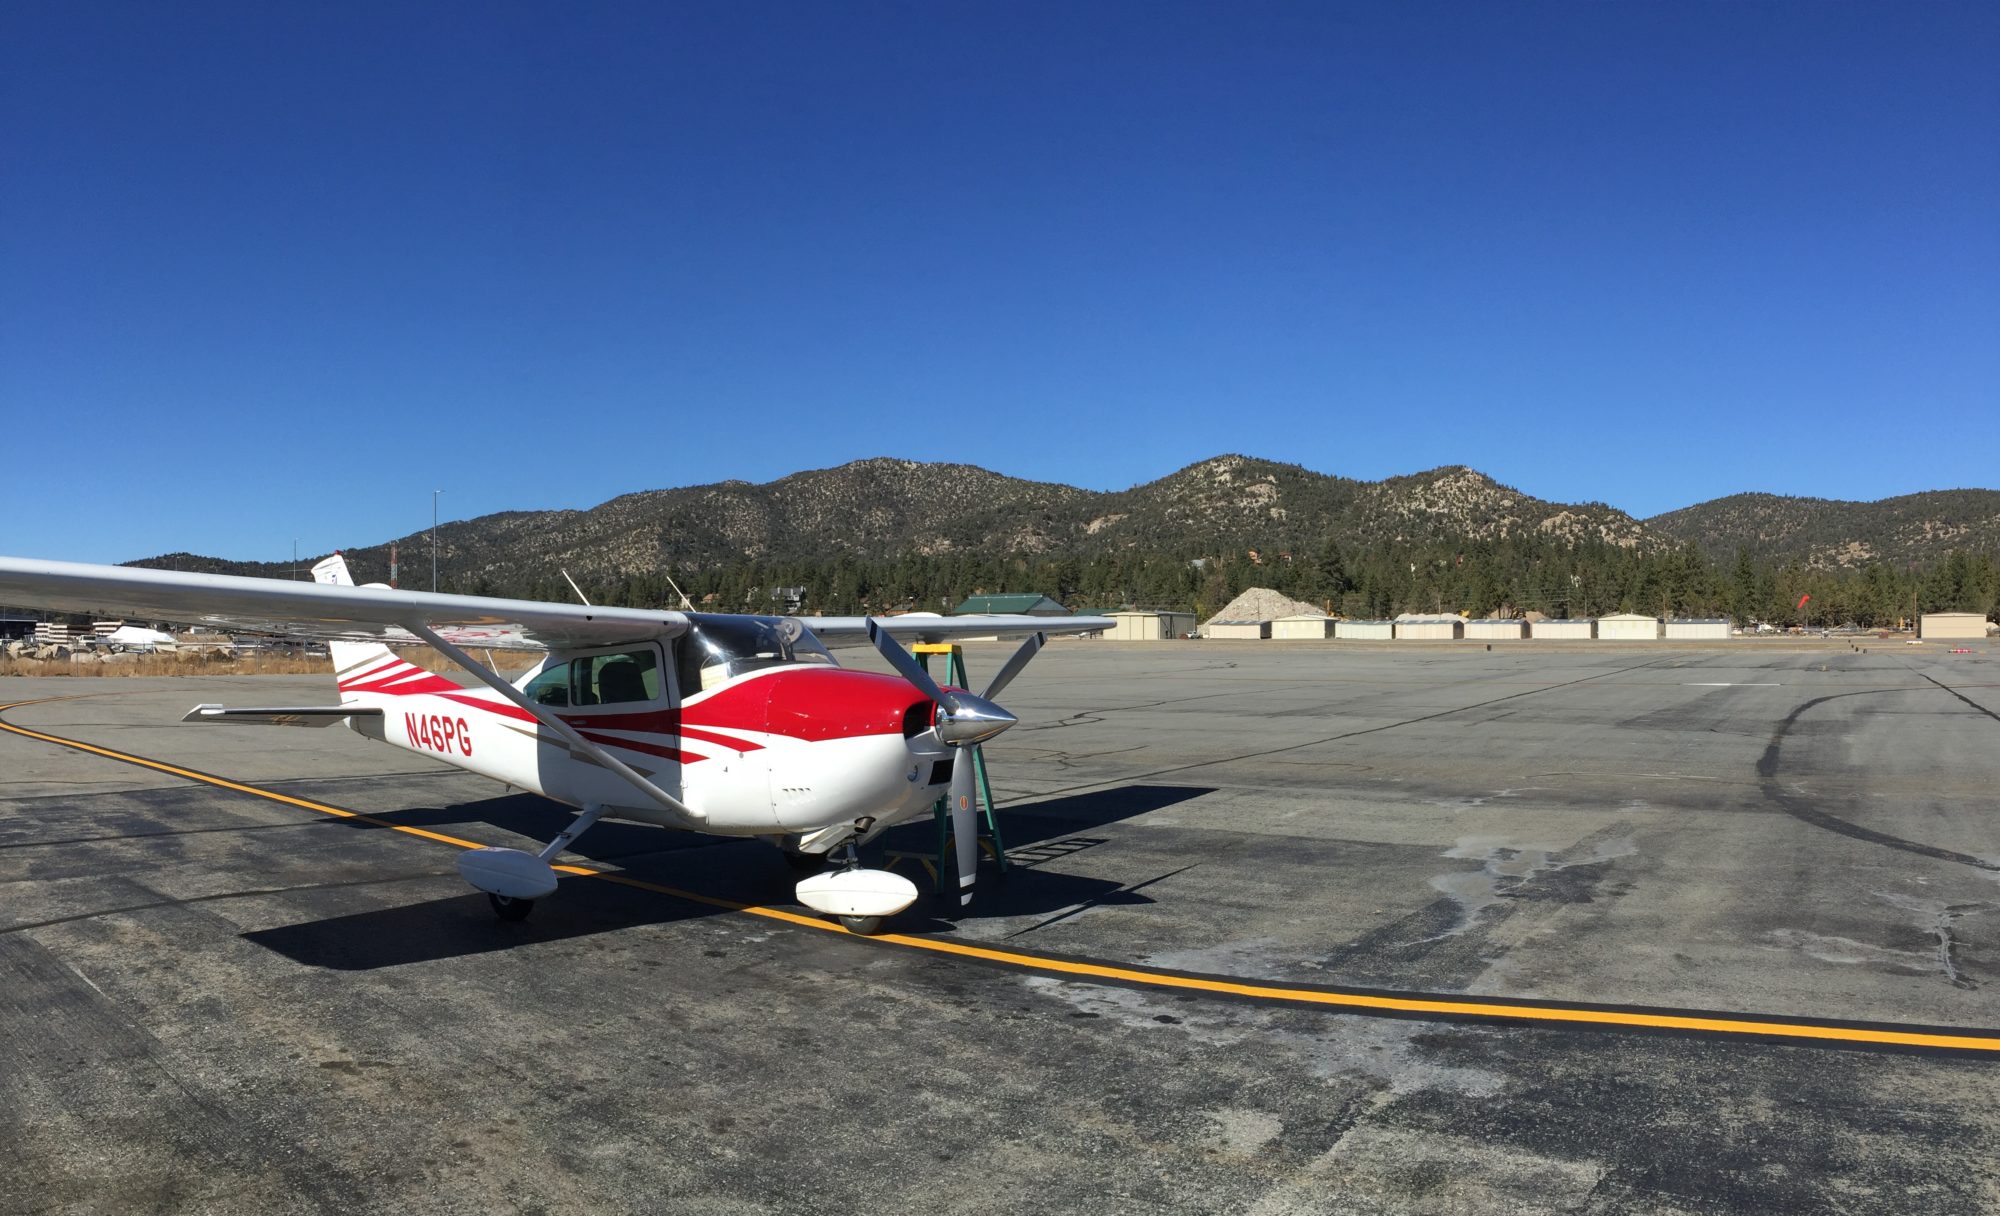
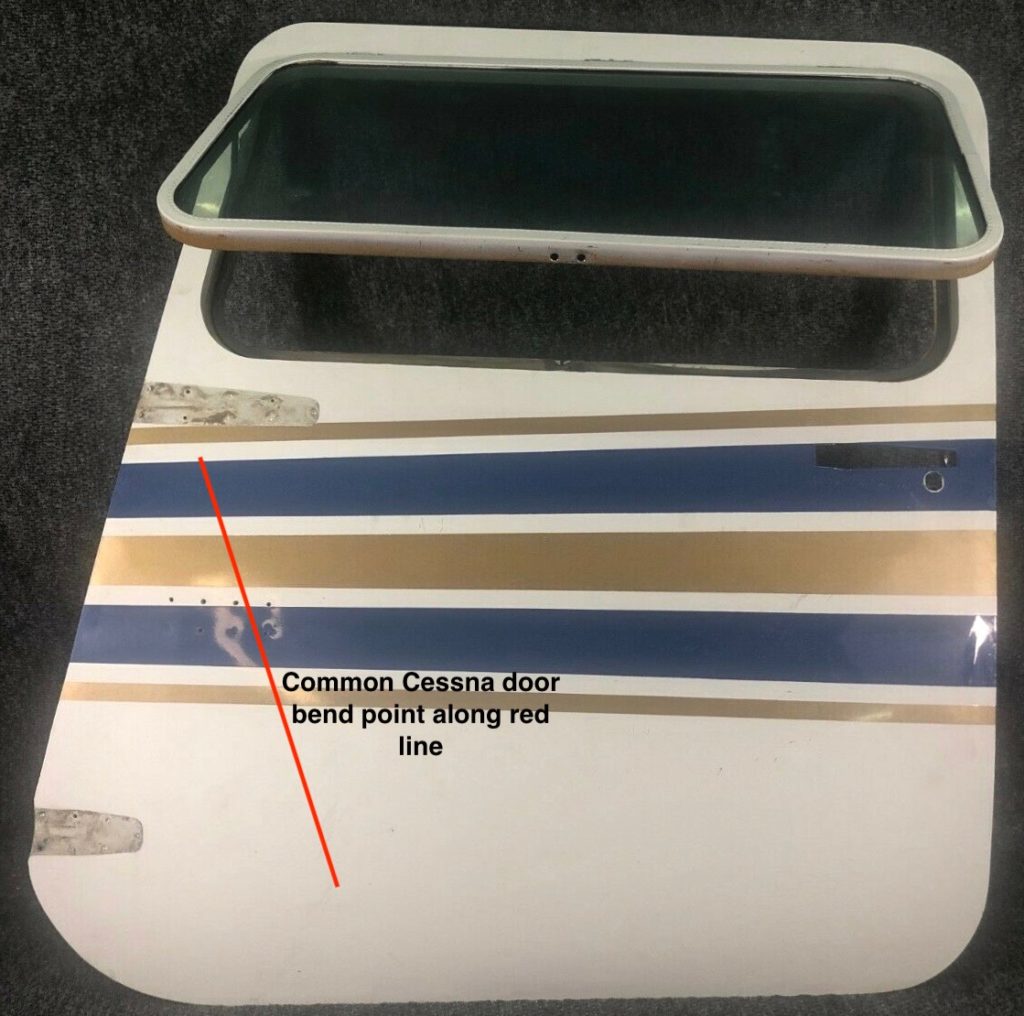
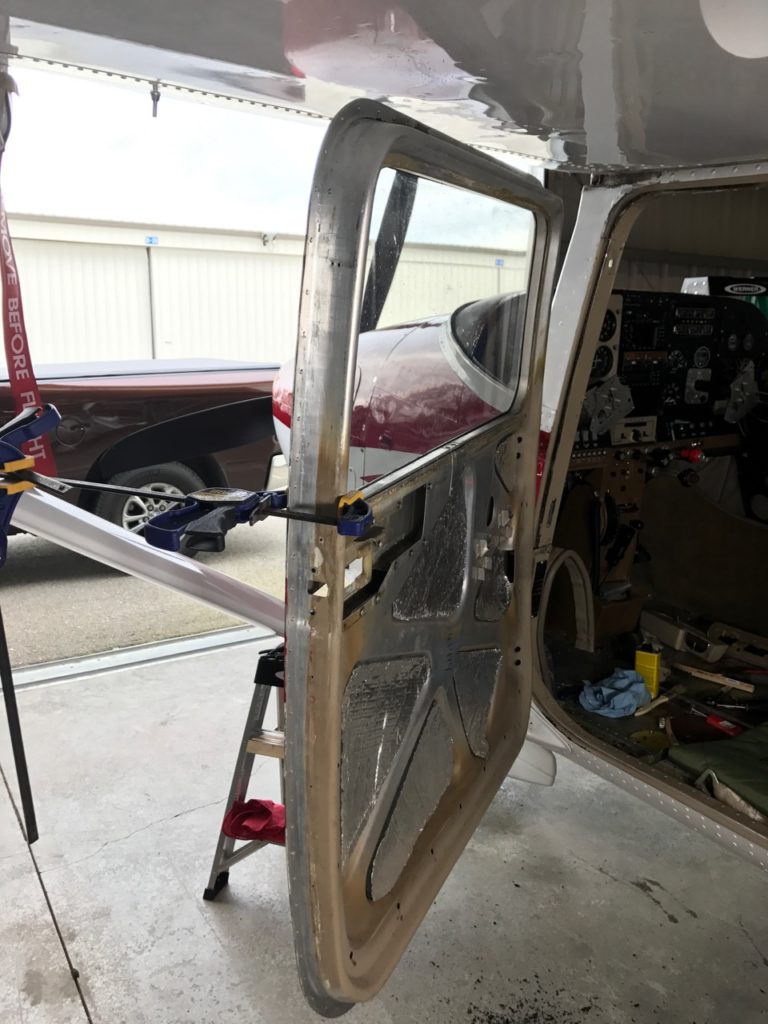
Over the years the lightweight doors on many Cessna single engine aircraft become slightly bent and misaligned preventing smooth operation. Over the course of a small plane’s lifetime eventually a pilot will forget or is unable to park down wind, and a strong gust of wind will catch the door and bend it from behind the hinges.
There are many contributing factors to doors not aligning correctly, lie fitment of the door to the frame, old molding that’s aged and become stiff, improper moldings, alignment of latch bolt to latch, and/or excessive play in latch mechanism.
This alignment issue not only impedes ease of operation, but frequently invites gaps in fitment allowing air infiltration or in some cases added airframe drag impending performance. How many times have Cessna pilots needed to slam a door two or three times to ensure it seated firmly? Who hasn’t had to power through pushing/pulling the door handle with much greater force than desired or intended?
Too often mechanics seem to try and solve door alignment issues by fixing symptoms rather than root causes. Most commonly large quarter round molding is installed as a solution to door gaps air infiltration, which usually makes the problem door fitment even worse. Putting oversized molding on a door frame frequently twists the door on the frame. How many times have you seen a Cessna with the aft lower corner kicked out and the upper aft corner inset?
Assuming the door is tweaked rather than seriously bent, there is a better solution for a cost effective fix. Aircraft parts have a happy spot when installed properly. There shouldn’t be any pre-load on parts when installed or in course of use, unless specified in the Maintenance & Operations manual.
The alternative is proper realignment and appropriate rubber molding, This can be accomplished by re-shimming the door at the external hinge mounts to make the door fit more square to the frame opening. In addition, use molding that is more malleable to to the contours between the frame and door. Installing oversized quarter round to fill enlarge doorframe gaps from bent doors is not the answer, since it’s simultaneously too wide for parts of the door opening where the gap is within spec and it is stiff.
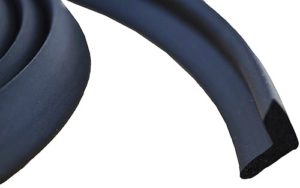
I met the owner of Aircraft Door Seals LLC at Sun N’ Fun in 2016. The product seemed impressive for retrofit replacements. Unlike the stiff quarter round, this product is L shaped and very supple. https://www.aircraftdoorseals.com
The product is FAA-PMA certified. It’s glued to the inside edge of the door on one side and the other leg of the L leg is left loose. It’s an ingenious idea because the loose side of the moulding will press or flap itself into any gap too large to compression seal.
Suggestions to Align Cessna Doors
Warning: Discuss proper procedures with your A&P before attempting any airframe work. All work must comply with standard procedures & practices.
Parts and tools required:
- Scraps of .020 & .030 aluminum
- Tools to cut and drill above aluminum
- New AN screws with slightly longer reach for fuselage side of door hinges
- Peerco 321 adhesive remover
- Couple of disposable rags to wipe away the dissolved glue
- Small stiff nylon brush to get the remaining adhesive from around the door rivets (available at local auto parts or hardware store)
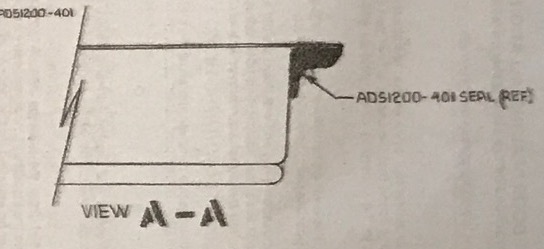
- New door molding. Strongly recommend Aircraft Door Seals LLC Model SKU ADS-C1401
- 3M 08001 Yellow Super Weatherstrip and Gasket Adhesive (available at local auto parts store)

3M 08001 Weather Strip Adhesive 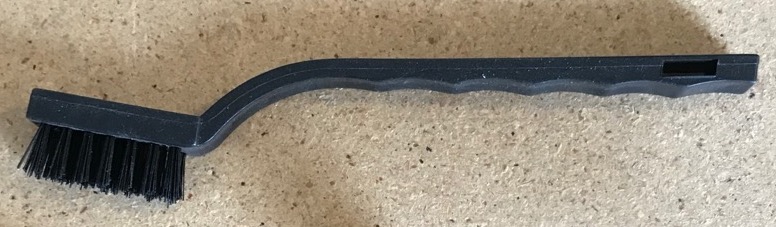
Stiff Nylon Brush
- Source replacement AN screws with a longer reach equal the extra shims added thickness. Usually standards & practices require 1.5 to 4 threads showing beyond the nut. Suggestion: remove one upper and lower hinge screw, measure the reach, and order .020/.030/.040 longer AN screws.
- Strip off the old rubber molding. It helps to pry underneath with a small scrapper while lifting up on the old molding. Try as little as possible to tear the molding.
- The adhesive and bits of molding left on the door must be completely removed from the door to provide an effective surface for the new molding. Peerco 321 adhesive remover quickly dissolves most common 3M weather strip glue commonly used for these rubber moldings. Carefully follow the directions on the container. Use a disposable rag and soft bristle brush to mechanically help the adhesive removal process.
- Operate the door without the molding installed. With the door closed, witness where the door is not flush with the frame. It’s common the see the bottom-aft kicked out and the top-aft of door inset. This can be corrected by making shims which fit between the airframe and door hinge mount.
- Optional Step: remove the door latch mechanism, dissemble, clean and re-grease, reassemble. See the companion Blog Overhauling Door Mechanisms: http://welch.com/n46pg/2017/08/01/overhauled-door-latch-mechanisms/
- Cut a few shims of various thicknesses of aluminum in the shape of the airframe side of the hinge mount. I cut mine as a precisely sized rectangle to the dimensional outline of the hinge. Next radius the corners to match the corners on the hinge. Shims should have the same surface area of the hinge to provide a good even mating surface. Another option is slip a scrap of aluminum or heavy stock paper between the fuselage and hinge, and trace the outline of the hinge as a template.
- Commonly an .030 is a good starting place for the top hinge. Retest the door’s closure and fitment. Keep adjusting shim thickness until the door flushes out to the frame or the best compromise can be achieved. Sometimes it’s necessary to make a compromise in the parameter fitment depending on how the door is warped. If you can’t get it right onto mark, you will probably make if close and much better.
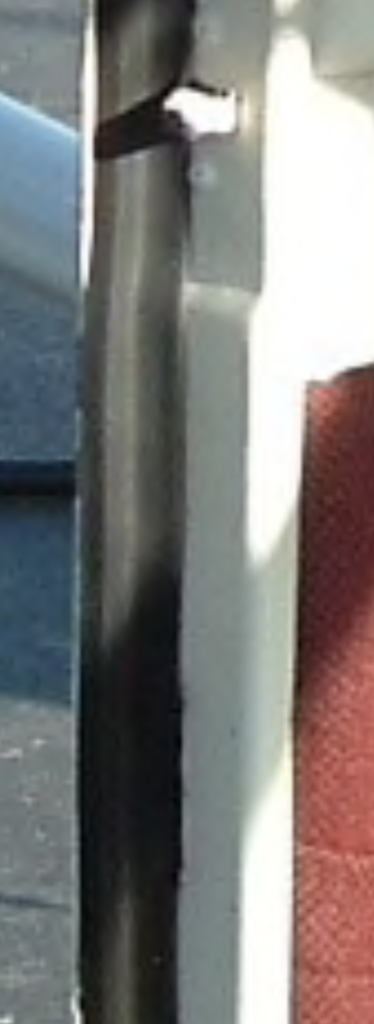
- My own plane required a single .032 shim on the pilot side top hinge; while the right side required .030 top shim and .020 bottom shim. A photo below shows the door in perfect alignment and square to the airframe.
- Install the new door molding as per the manufacturers instructions. Door Seals LLC’s product has an orientation. Witness one side is thicker than the other, and only one side is glued with the other side left floating.
- Allow set-up time for the adhesive
- Test the door again and make adjustments to latch and hinge shims as needed. It may also be necessary to tune the rotating catch in the airframe that mates with the door’s latching bar. This is another area where mechanics have made adjustments fixing symptoms of oversized molding.
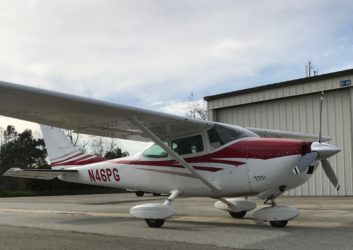
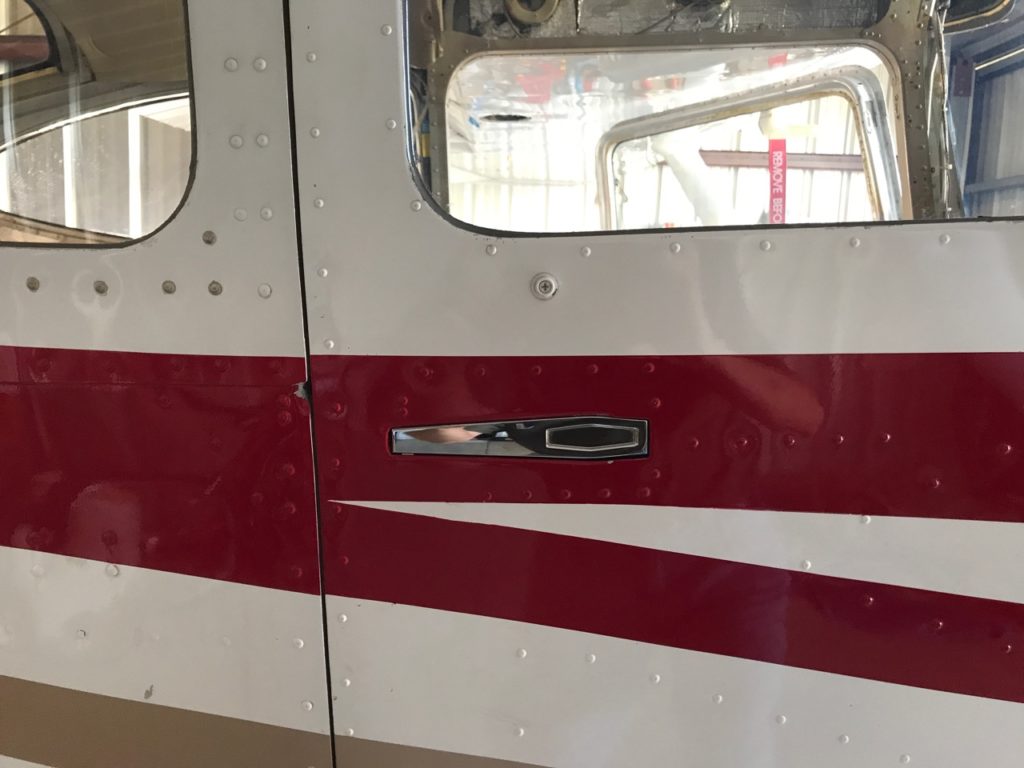
You can see the after picture below. The door mates up flush around the entire frame. The perceived quality of the plane was enhanced greatly both from a visual standpoint and improved ease of operation.

New AN screws with slightly longer reach 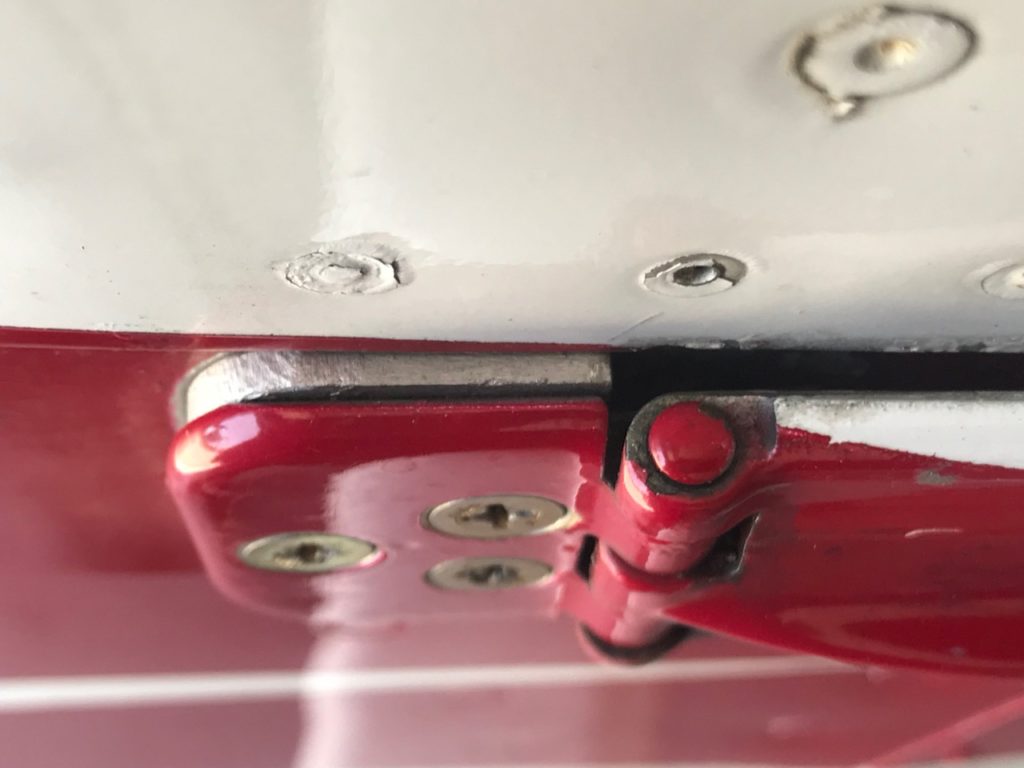
.032 Shim
This work is not terribly difficult, it just requires patience and a little craftsmanship. It’s highly likely your A&P would allow the pilot/owner to perform most of the work. The aircraft owner removing door panels, old molding, and adhesive is an easy 3 hours of effort and can represent an easy sweat equity investment. Even manufacturing the shims is fairly easy work with a Dremel cut-off wheel and grinder to trim. Installing the new molding is also straightforward if the directions are carefully followed.
Adding the shims is a minor airframe modification requiring an A&P log entry.
Conclusion
After making the necessary tuning of door fitment to the airframe, it’s a delight to open and close the doors. I embarked on this project in my own quest to remove preload from the doors. My own “captain obvious” moment after completion was the enhanced safety factor having the doors operate as specified and expected. Everyone onboard now knows for certain the door is closed, latched, and locked properly. In the event of the unthinkable under high stress, the doors now easily rotate to “latched, not locked” position in preparation for faster egress.
Also see the companion Blog post on overhauling Cessna door latch mechanisms.
http://welch.com/n46pg/2017/08/01/overhauled-door-latch-mechanisms/
Thank you for the good writeup.
Well done. My later model P needs this work.